

For dentists · Clinical guide
AP spread in All-on-4 planning: why the distance matters
The front-to-back distance between implants decides how long a cantilever can safely be, and how much force each implant takes.
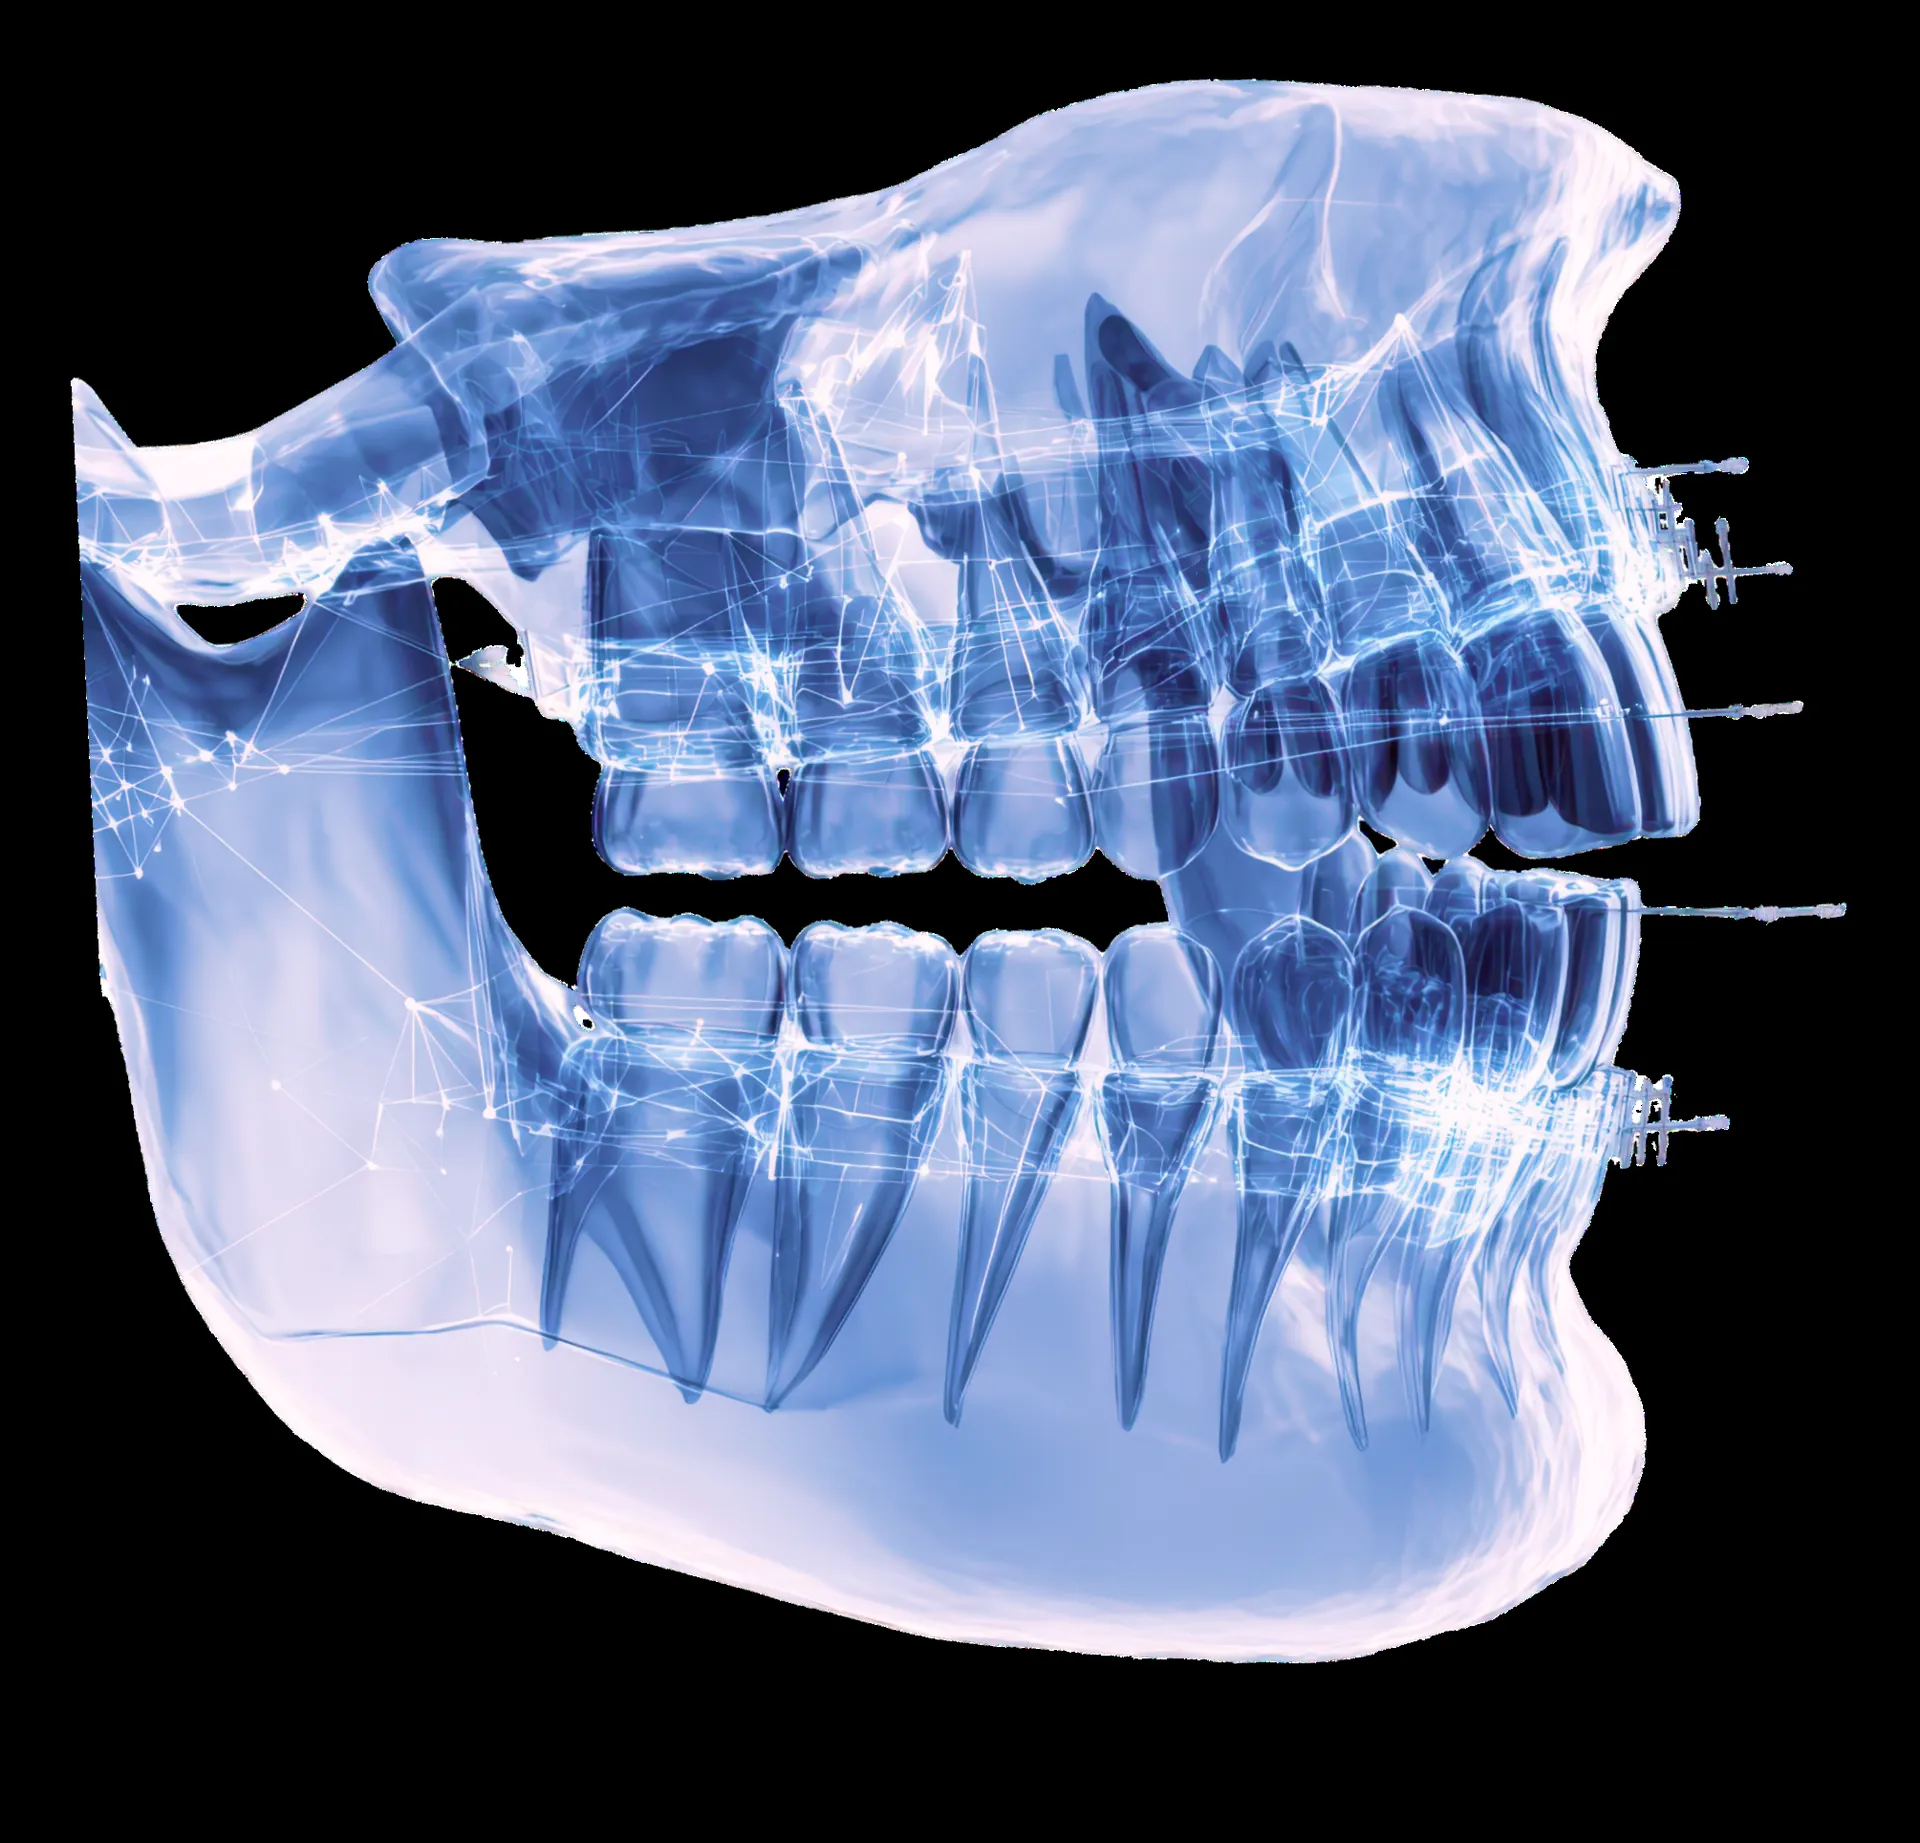
What AP spread is
Anteroposterior (AP) spread is the distance between a line joining the centres of the most anterior implants and a line joining the distal edges of the most posterior implants. A larger AP spread spreads load better and supports a longer distal cantilever.
Why it matters
A full-arch prosthesis behaves like a lever. The distal cantilever multiplies the forces on the posterior implants and their screws. Too long a cantilever for the AP spread leads to screw loosening, framework or prosthesis fracture, crestal bone loss, and eventually implant failure.
A commonly used guide is a cantilever no longer than about 1.5 times the AP spread for a rigid framework, often less in the maxilla, with poor bone, in bruxers, or opposing a natural dentition. It's a guide, not a rule: framework stiffness, bone quality, implant number and occlusion all change it.
Tilted implants
In the All-on-4 concept, the posterior implants are tilted (often up to about 30 to 45 degrees) so their platforms emerge further back while avoiding the sinus or the mental foramen. That increases the AP spread and shortens the cantilever without grafting. Tilted implants are typically longer and engage more bone, and need angled multi-unit abutments.
Increasing AP spread
- Tilt the distal implants
- Place the anterior implants as far forward as the anatomy and prosthesis allow
- Add implants: All-on-5 or All-on-6
- Use pterygoid or zygomatic implants to anchor posteriorly in the maxilla
- Accept a shorter dentition: a shortened arch to the first molar or premolar
Arch form matters
A square arch gives a small AP spread for the same implant positions; a tapered arch gives a larger one. Measure on the plan rather than assume.
Planning it
Plan AP spread on the CBCT with the prosthesis in view, decide the cantilever before surgery, and check it again against the final occlusion and framework design.
Keep reading
Related guides
- 01FP1, FP2, FP3 explainedFull-arch prosthesis classification and planning
- 02Immediate loading for full-arch casesWhen it's appropriate, primary stability, temporaries
- 03Full-arch complicationsFractures, screw loosening, peri-implantitis, prevention
- 04Reading CBCT for implant planningLandmarks and common mistakes
A complex case on your schedule?
Send the records. Dr. Ali Mehdi reviews them and you stay part of your patient's care from start to finish.